今回はオープンソースのバグ管理システムMantisをインストールする手順のご紹介です。
PHP,Apacheのインストール
|
1 |
# yum install httpd mod_ssl php php-mysql php-mbstring wget ntp |
タイムゾーンの設定をしましょう。
|
1 2 3 4 |
# vi /etc/php.ini ;date.timezone = date.timezone = Asia/Tokyo |
起動設定を行います。
|
1 |
# service httpd start |
|
1 |
# chkconfig httpd on |
MySQLインストール
|
1 |
# yum install mysql mysql-devel mysql-server mysql-utilities mysql-community-commonyum |
MySQLの起動設定を行います。
|
1 |
# service mysqld start |
|
1 |
# chkconfig mysqld on |
DBを作成します。
|
1 |
# mysql -u root |
DBの作成
|
1 |
mysql> CREATE DATABASE bugtrackerdb; |
DBユーザの作成、パスワード設定
|
1 |
mysql> CREATE USER mantisuser@localhost IDENTIFIED BY 'DBユーザ'; |
権限を割りあてます。
|
1 |
mysql> GRANT ALL ON bugtrackerdb.* TO mantisuser; |
Mantisのダウンロード
ダウンロードディレクトリに移動しましょう。
|
1 |
# cd /usr/local/src |
最新版のダウンロード
https://sourceforge.net/projects/mantisbt/postdownload?source=dlp
SCPで転送します。
/usr/local/src/
|
1 2 3 4 5 6 |
# ls -lah 合計 16M drwxr-xr-x. 2 root root 4.0K 3月 2 19:44 2017 . drwxr-xr-x. 12 root root 4.0K 3月 2 19:26 2017 .. -rw-r--r-- 1 root root 16M 3月 2 12:44 2017 mantisbt-2.2.0.zip |
|
1 |
# unzip mantisbt-2.2.0.zip |
|
1 2 3 4 5 6 7 |
# ls -lah 合計 16M drwxr-xr-x. 3 root root 4.0K 3月 2 19:45 2017 . drwxr-xr-x. 12 root root 4.0K 3月 2 19:26 2017 .. drwxr-xr-x 15 root root 12K 2月 27 11:04 2017 mantisbt-2.2.0 -rw-r--r-- 1 root root 16M 3月 2 12:44 2017 mantisbt-2.2.0.zip |
公開ディレクトリに設置します。
|
1 |
# mv mantisbt-2.2.0 /var/www/html/mantisbt |
所有権の設定
|
1 |
# chown apache:apache -R /var/www/html/mantisbt |
ブラウザからインストールを行います。
http://IPアドレス/mantisbt/admin/install.php
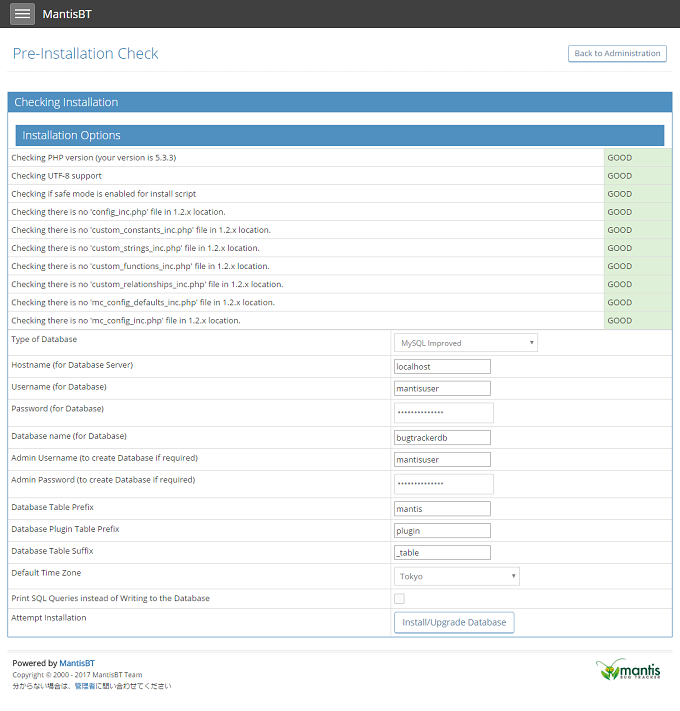
DBの設定情報を入力しましょう。
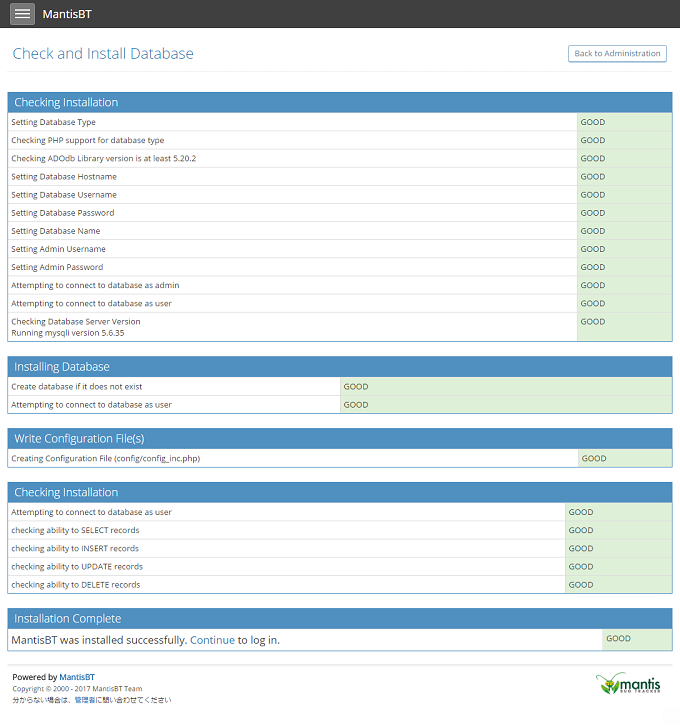
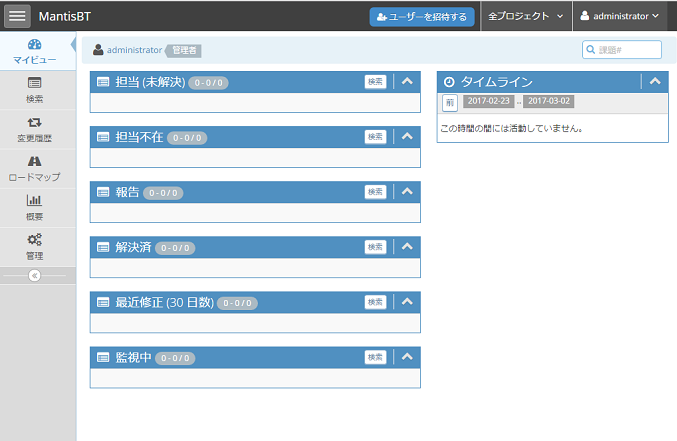
全て”GOOD”であれば、『MantisBT was installed successfully. Continue to log in』と表示されます。Continueをクリックして下さい。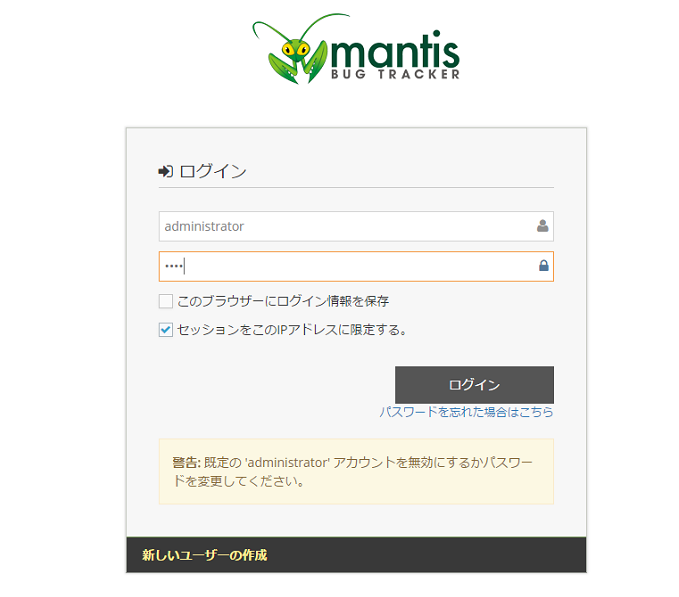
ログインしましょう。
- ユーザ:administrator
- パスワード:root
初期設定は上記で入れます。
ログイン後は忘れずに変更しましょう!

その後は日本語化とメール通知設定をします。
Gmailとか使用してMantis用に設定すると良いです。


