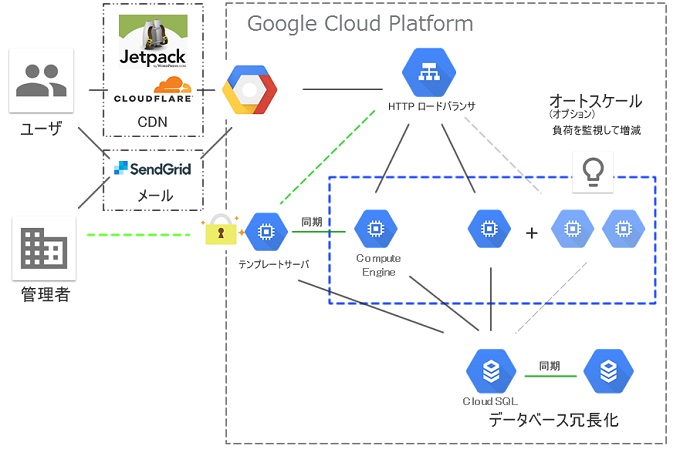
最近はとても寒くなってきたので、青いカラーのアイコンが特徴のGCPでWEBサーバを作ってみましょう!ただWEBサーバをたてても仕様がないので、WordPressもついでにインストールしてみましょう。
GCPの利用は、まずはSSH鍵の作成から始まる。
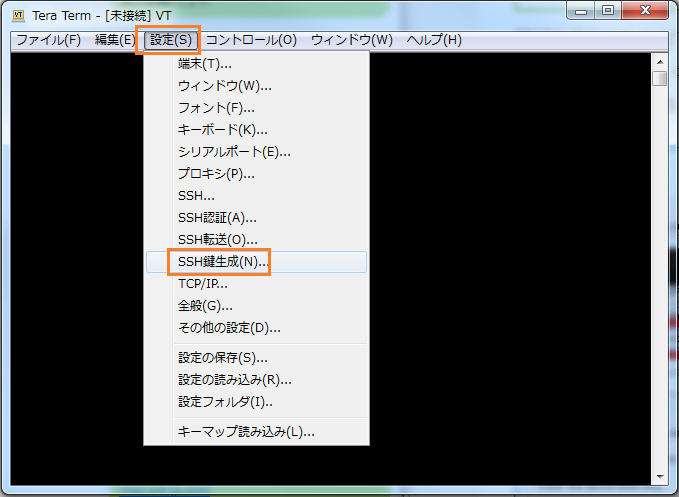
Teratermを使って作成します。
【設定】>> 【SSH鍵生成】を選択しましょう。
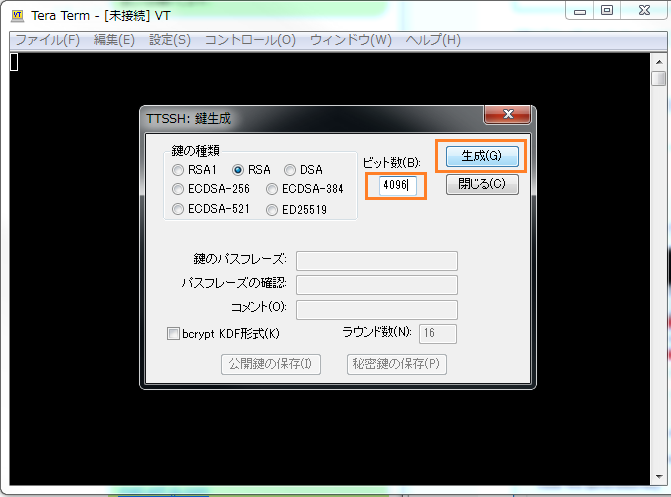
ビット数に【4096】を入力して、生成をクリックしましょう。
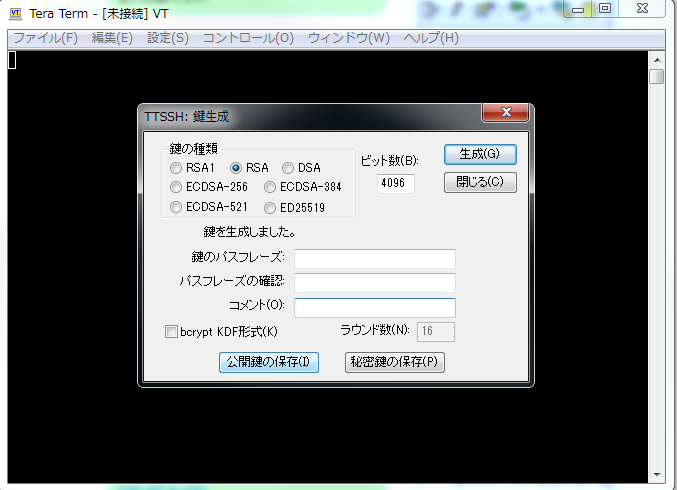
鍵が作成されました。
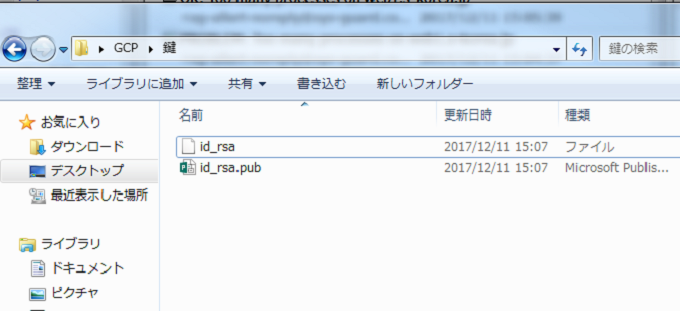
鍵が出来ています。
id_rsaの鍵の末尾にユーザ名を設定しましょう。
|
1 |
ssh-rsa AAAAB3NzaABIwA (略) AAgEAuSRJ/CQM= <ユーザ名>@example.com |
ここで設定したユーザ名でGoogle Compute Engineにユーザが自動追加されます。
ここからGCPですよ!
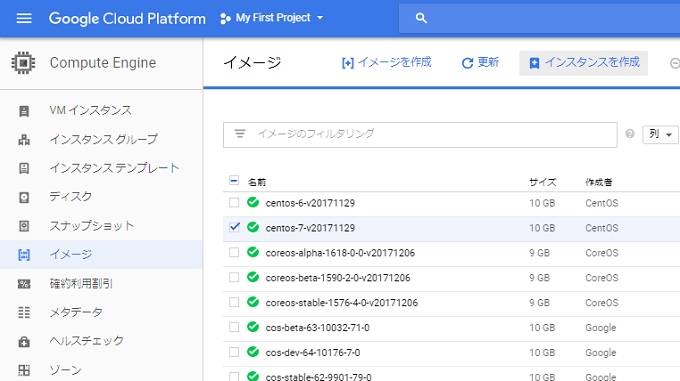
【イメージ】>> 【好きなOS】を選択して、【インスタンスを作成】をクリックして下さい。
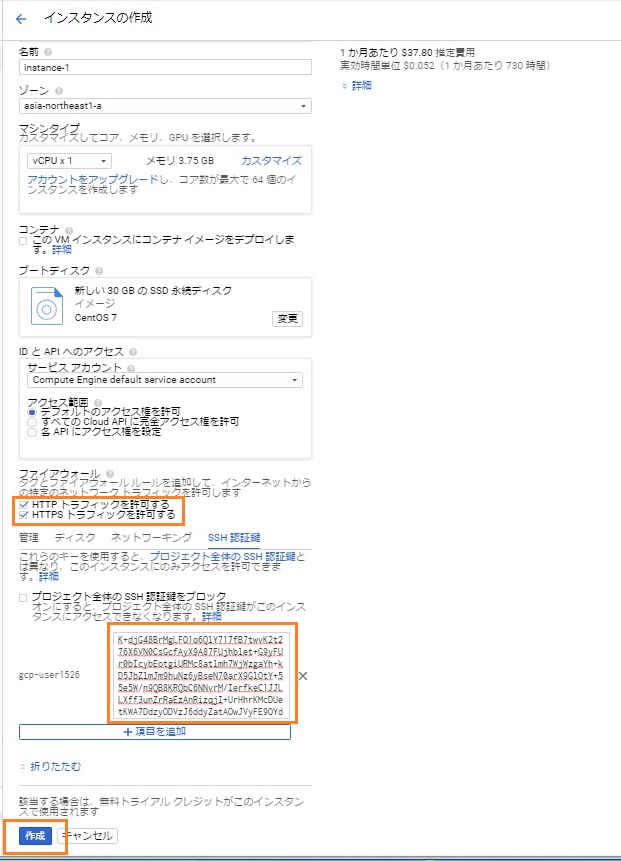
ファイアウォールの許可にチェックを入れて、作成した秘密鍵を貼り付けて【作成】をクリックして下さい。
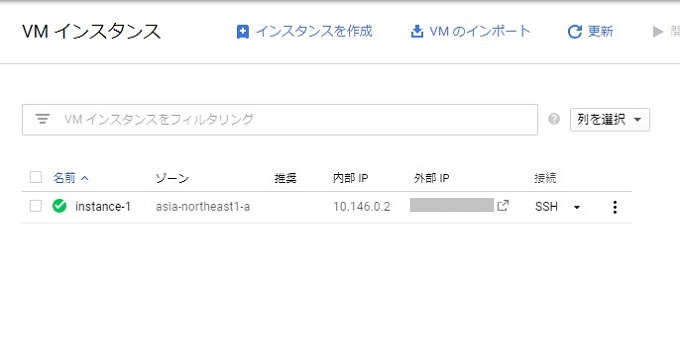
10秒もかからずインスタンスが出来ましたね。早すぎます…!
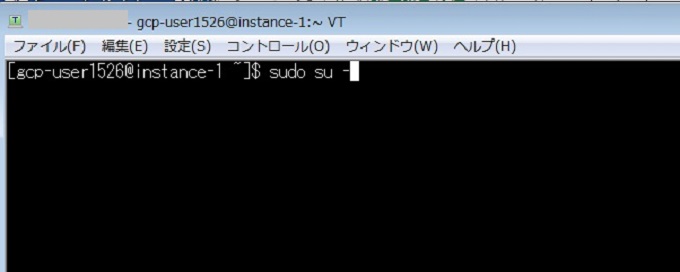
SSHにログインを行えましたか。
rootになりますよ!
|
1 |
$ sudo su - |

rootになることができました。
後はやりたい放題サーバを構築して楽しみましょ~!
WordPressのインストール

必要なWEBサーバのミドルウェアとライブラリをインストールするよ
|
1 |
# yum install httpd httpd-devel php php-mysql php-mbstring wget unzip |
MySQL5.7をインストールしよう。
|
1 2 |
# yum localinstall http://dev.mysql.com/get/mysql57-community-release-el7-7.noarch.rpm # yum install mysql mysql-devel mysql-server mysql-utilities |
初期化しよう。
|
1 |
# mysqld --user=mysql --initialize |
起動させるよ。
|
1 2 |
# systemctl enable mysqld # systemctl start mysqld |
パスワードをログから確認するよ
|
1 2 3 |
# grep password /var/log/mysqld.log root@localhost: 0fTHietdd,nl |
DBにログインしようね
|
1 2 3 4 5 6 7 8 9 10 11 12 13 14 |
# mysql -u root -p Enter password: Welcome to the MySQL monitor. Commands end with ; or \g. Your MySQL connection id is 4 Server version: 5.7.20 Copyright (c) 2000, 2017, Oracle and/or its affiliates. All rights reserved. Oracle is a registered trademark of Oracle Corporation and/or its affiliates. Other names may be trademarks of their respective owners. Type 'help;' or '\h' for help. Type '\c' to clear the current input statement. |
パスワードを設定するよ。
|
1 |
mysql> SET PASSWORD = PASSWORD('hogemoge'); |
簡単だね。
WordPressに必要なDBとユーザを作成しよう。
|
1 2 3 |
mysql> CREATE DATABASE wpdb; mysql> GRANT ALL PRIVILEGES ON wpdb.* to wpdbuser@localhost IDENTIFIED BY 'wpdbpassword'; |
用が済んだらログアウトしよう。
|
1 2 |
mysql> exit Bye |
セキュリティ設定を行います。
|
1 2 3 4 5 6 7 8 9 10 11 12 13 14 15 16 17 18 19 20 21 22 23 24 25 26 27 28 29 30 31 32 33 34 35 36 37 38 39 40 41 42 43 44 45 46 47 48 49 50 51 |
# mysql_secure_installation Securing the MySQL server deployment. Enter password for user root: VALIDATE PASSWORD PLUGIN can be used to test passwords and improve security. It checks the strength of password and allows the users to set only those passwords which are secure enough. Would you like to setup VALIDATE PASSWORD plugin? Press y|Y for Yes, any other key for No: Using existing password for root. Change the password for root ? ((Press y|Y for Yes, any other key for No) : 【Noと押印】 ... skipping. By default, a MySQL installation has an anonymous user, allowing anyone to log into MySQL without having to have a user account created for them. This is intended only for testing, and to make the installation go a bit smoother. You should remove them before moving into a production environment. Remove anonymous users? (Press y|Y for Yes, any other key for No) :【Enterキーを押印】 ... skipping. Normally, root should only be allowed to connect from 'localhost'. This ensures that someone cannot guess at the root password from the network. Disallow root login remotely? (Press y|Y for Yes, any other key for No) :【Enterキーを押印】 ... skipping. By default, MySQL comes with a database named 'test' that anyone can access. This is also intended only for testing, and should be removed before moving into a production environment. Remove test database and access to it? (Press y|Y for Yes, any other key for No) :【Enterキーを押印】 ... skipping. Reloading the privilege tables will ensure that all changes made so far will take effect immediately. Reload privilege tables now? (Press y|Y for Yes, any other key for No) :【Enterキーを押印】 ... skipping. All done! |
英語が読めなくて困ってしまったら、Enterを押すといいかもしれないですね。
設定ファイルを編集します。
|
1 2 3 4 5 6 7 8 9 10 11 12 13 14 15 16 17 18 19 20 21 22 23 24 25 26 27 28 29 30 31 32 |
# vi /etc/my.cnf # For advice on how to change settings please see # http://dev.mysql.com/doc/refman/5.7/en/server-configuration-defaults.html [mysqld] # # Remove leading # and set to the amount of RAM for the most important data # cache in MySQL. Start at 70% of total RAM for dedicated server, else 10%. # innodb_buffer_pool_size = 128M # # Remove leading # to turn on a very important data integrity option: logging # changes to the binary log between backups. # log_bin # # Remove leading # to set options mainly useful for reporting servers. # The server defaults are faster for transactions and fast SELECTs. # Adjust sizes as needed, experiment to find the optimal values. # join_buffer_size = 128M # sort_buffer_size = 2M # read_rnd_buffer_size = 2M datadir=/var/lib/mysql socket=/var/lib/mysql/mysql.sock character-set-server = utf8 ←追加 default_password_lifetime = 0 ←追加 # Disabling symbolic-links is recommended to prevent assorted security risks symbolic-links=0 log-error=/var/log/mysqld.log pid-file=/var/run/mysqld/mysqld.pid |
MySQLを再起動させて反映させよう。
|
1 |
# systemctl restart mysqld |
WordPressをダウンロードしましょう。
|
1 2 3 4 5 6 7 8 9 10 11 |
# cd /var/www/ # rm -rf /var/www/html # wget https://ja.wordpress.org/wordpress-4.9.1-ja.zip # unzip wordpress-4.9.1-ja.zip # mv wordpress html # cd html |
サンプルファイルをコピーします。
|
1 |
# cp wp-config-sample.php wp-config.php |
パスワードなどを設定しましょう
|
1 2 3 4 5 6 7 8 9 10 11 |
# vi wp-config.php // ** MySQL 設定 - この情報はホスティング先から入手してください。 ** // /** WordPress のためのデータベース名 */ define('DB_NAME', 'wpdb'); /** MySQL データベースのユーザー名 */ define('DB_USER', 'wpdbuser'); /** MySQL データベースのパスワード */ define('DB_PASSWORD', 'wpdbpassword'); |
WEBサーバを起動させよう!
|
1 2 3 4 5 |
# httpd -t Syntax OK # systemctl restart httpd # systemctl enable httpd |
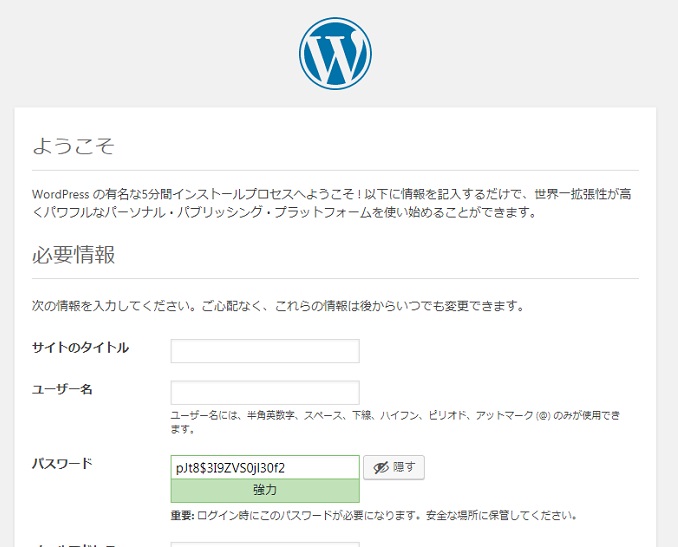
http://グローバルIPアドレス/
これでいけるはずです!
ITに詳しいお客様からGCPのお問い合わせを頂いており、とても人気になっています。
お疲れ様です。


